August 5, 2016, Friday
Cephas House, 217 MLK Drive, San Marcos, Texas 78666
Lesson Four - Monoprints
Note: Click on any photo and view a larger image.HOMEWORK: Do a few more of these over the week to work out the process.
Bring two or three of your best prints for the next class.
|
We will make Monoprints. Mono printing suggests that each work will be
unique and hard to duplicate. A "one-off". These prints are fairly unpredictable in outcome, but allow creativity and an "in the moment" spontaneous approach to resolving the work.
These works can be abstract or representational.
You will need:
|
||||
|
1. Prepare your plastic transparency or plexiglass by sanding
lightly to rough up the surface. You don't want the paint to bead up.
2. Tape the transparency down to the table or board so it won't move. (I don't tape the 1/8 inch plexi-glass, but I guess you could put a couple pieces of rolled tape on the back if you needed to) |
||||
|
3. Do a painting on
the plastic surface and allow it to dry. We didn't have time in class for
the surface to dry, but the pulled print will smudge if the paint
surface or paper surface is too wet.
You can use a paper towel or a damp brush to remove sections of paint, or add texture, if you like. Notice the light area within the broad purple stripe, near the center of her painting. She used a paper towel to selectively pick up paint. |
||||
|
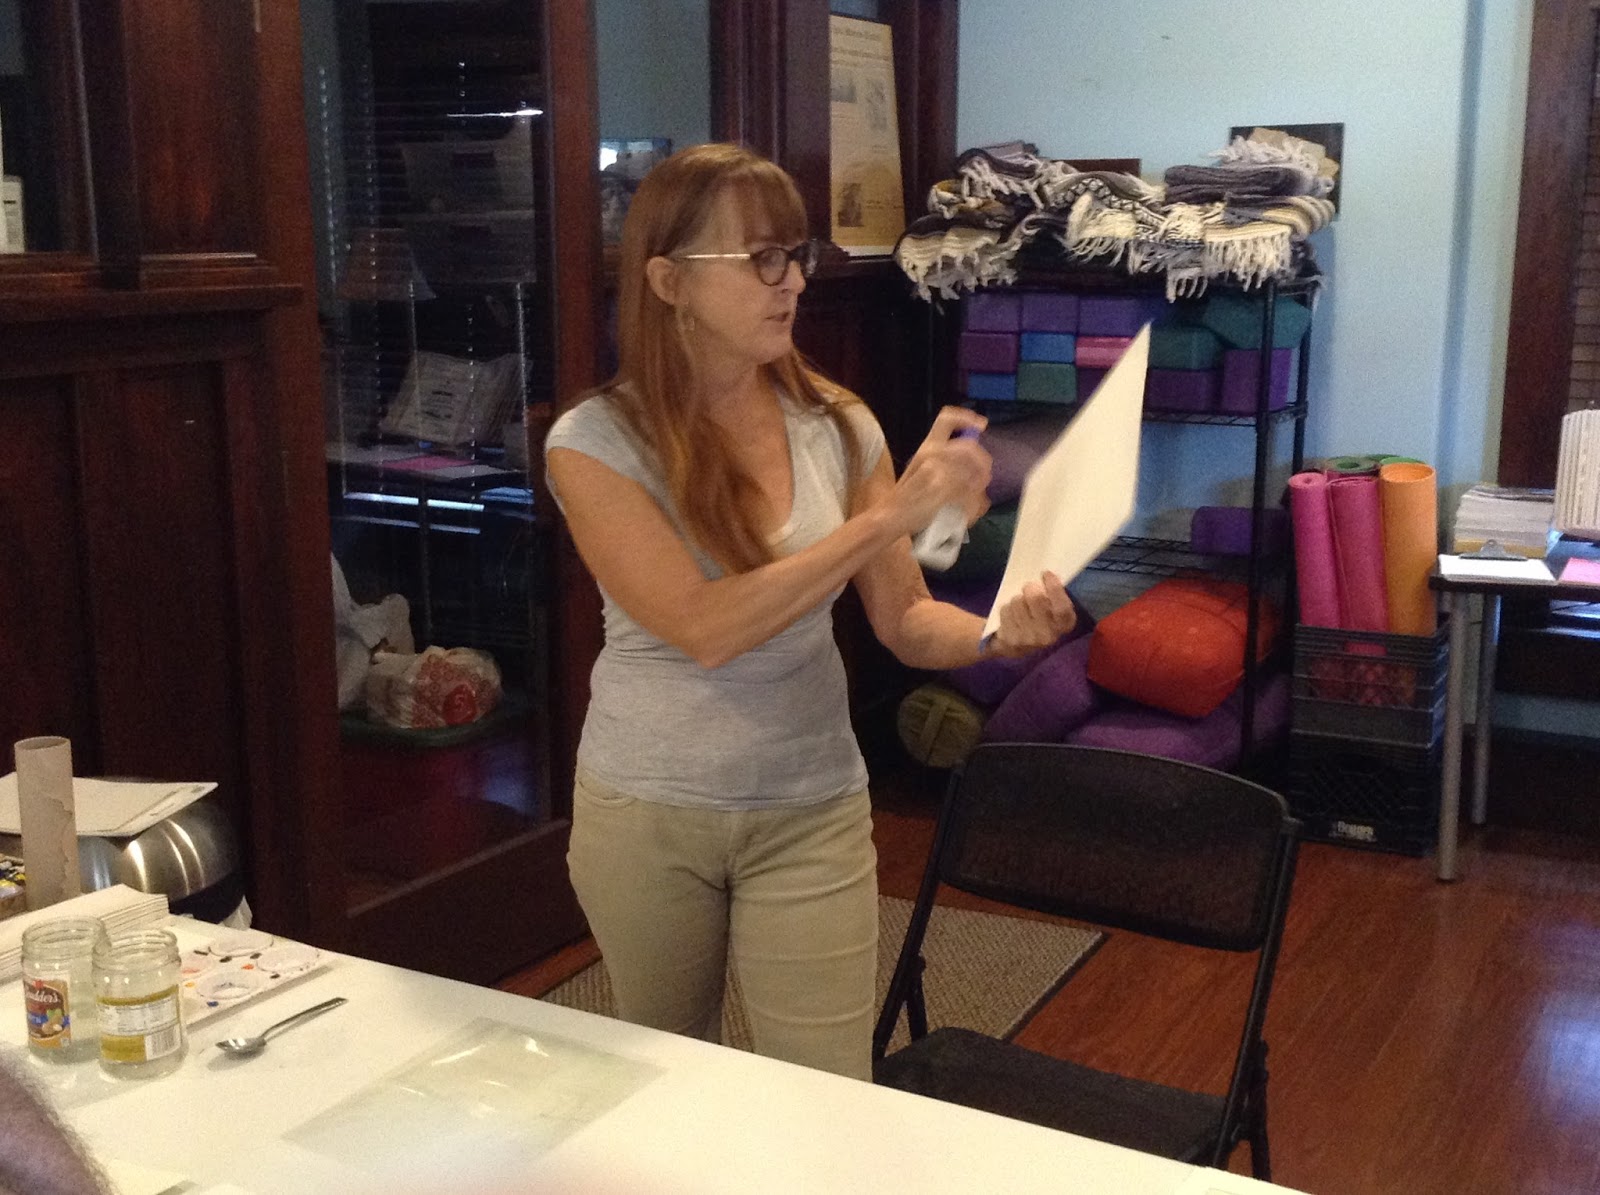
4. Soak a piece of
watercolor paper for about 10 minutes. Here, Roxana uses a spray bottle to dampen both sides of the watercolor paper. If you soak the paper in a tray, remove it from the water, allow it to drip off, and then blot it with a sandwich of paper towels or newsprint. You don't want the receiving paper to be shiny with water, just damp. |
||||
|
5.
Lay the damp watercolor paper down on top of the painted plastic
transparency film (or plexiglass).
When the paper and painted plastic are sandwiched together, use the back of a spoon to burnish the surface. The paper and the painted surface should temporarily adhere together. |
||||
|
6. Carefully pull the watercolor paper off of the plexiglass or transparency film.
You
will have a reverse image of what you originally painted.
You can go back into the painting with more watercolor, watercolor pencils, ink, etc. to finish the painting. The print will be somewhat distressed since not every part of the painting will transfer. |
||||
|
Here is a student's work in progress. At top, you can see her monoprint which takes great advantage of the texture of the paper itself. At bottom you can see her painted plastic surface, taped firmly in place. |
||||
|
More examples of student's work in class. At top, you can see a very dimensional-looking monoprint. It uses color tones to great effect. At bottom you can see a monoprint of red poppies on the left, next to a landscape painting (not a monoprint). The contrast between image styles highlights the difference in processes which were used by the same artist. |


No comments:
Post a Comment